3D Printmaking Checklist: Mirrored Art to Inked Proof
3D printmaking is a relief-printing method that uses a 3D-printed plate to transfer ink onto paper or fabric.
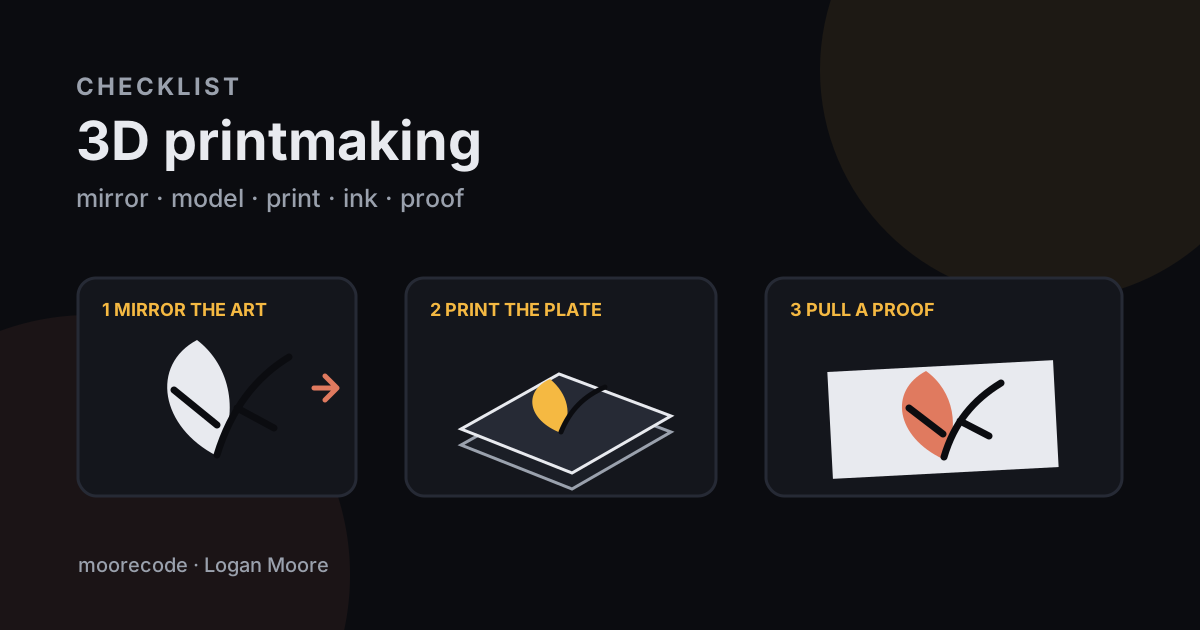
3D printmaking turns mirrored digital artwork into a raised plate that can be inked and pressed onto paper or fabric. For a dependable first proof, simplify the art, build a flat-backed relief, slice it face-up, and test ink load and pressure on scrap paper. This checklist covers the trip from SVG to finished impression.
This is traditional relief printmaking with a digitally fabricated block. Choosing a printer process or making a display model solves a different problem. The physical tinkering is close to the projects on my hobbies page, but success is judged by the mark left on paper.
What should be on a 3D printmaking checklist?
A 3D printmaking checklist should cover artwork, plate geometry, slicing, printer preparation, safe operation, inking, pressure, and proof notes. Each stage can spoil the impression even when the printed plate looks fine.
| Stage | Check before moving on | Failure it prevents |
|---|---|---|
| Artwork | Two-color design, mirrored, text reversed | Backward or muddy print |
| Model | Flat base, joined relief, rounded outer corners | Detached marks or rocking plate |
| Slice | Face-up orientation and visible toolpaths | Scarred print face |
| Printer | Clean bed, correct profile, observed first layer | Warped plate |
| Proof | Thin ink film, even pressure, scrap paper | Filled recesses and blotches |
| Record | Ink, paper, pressure, settings, result | Repeating the same failed test |
How should artwork be prepared for a relief plate?
Artwork for a relief plate should begin as a high-contrast image with deliberate positive and negative space. Remove tiny islands and hairline gaps that the nozzle cannot reproduce, then mirror the image before converting or importing the SVG.
Ignite Studio at the Hamilton East Public Library gives the clearest rule: “In physical printmaking your design must always be mirrored.” Its 3D-printed relief-plate guide also recommends black-and-white art and warns that intricate details may not survive the printer. The dark areas become the raised, ink-carrying marks; blank areas stay recessed.
- Mirror before adding dimensions. Words, dates, faces, and directional symbols expose the mistake immediately.
- Prefer shapes over hairlines. Give every printed mark a width the slicer can turn into a continuous path.
- Check counters and gaps. The center of an A or small gap between leaves can close when ink and pressure are added.
- Print a crop first. A corner containing the smallest detail is more useful than a full plate that repeats the same defect.
How thick should a 3D-printed printmaking plate be?
A first 3D-printed plate can use a 2 mm base with the design raised another 1 to 1.5 mm. That is a starting test, not a universal standard; pressure, paper, line width, and the flatness of the printer all affect how much relief is enough.
Ignite Studio's published workflow uses a 3 mm depth for its imported SVG design. I would test a smaller plate before committing to that much raised material across a large image. A low relief shortens the print and reduces leverage on fine marks, while a deeper relief gives the roller more clearance from blank areas.
Here is a concrete 90 × 120 mm plate plan. A 2 mm base plus 1.2 mm of relief makes the finished model 3.2 mm tall. At a 0.2 mm layer height, the printer lays 16 nominal layers because 3.2 ÷ 0.2 = 16. The design occupies the top six layers, while the first ten create a stiff backing. A slicer may adjust those paths, so inspect its preview instead of trusting the arithmetic alone.
How should the plate be sliced and printed?
The relief plate should usually be sliced flat on its back with the ink face pointing up. That orientation keeps support scars away from the printing surface and gives the base the largest possible contact area.
- Select the printer, nozzle, and exact material profile.
- Confirm the model dimensions and mirrored face in the slicer.
- Preview every layer, especially narrow marks and enclosed gaps.
- Use enough top layers to close the relief surface without pinholes.
- Clean the correct build surface by the printer maker's method.
- Watch the first layer before leaving the immediate area.
PLA is a sensible starting material for a rigid hand-printing plate. My PLA, PETG, and TPU guide explains why PLA is easier for a first print and when another filament earns the extra setup.
Printing also needs ventilation and distance from emissions. The National Institute for Occupational Safety and Health says plastic 3D printers can release very small particles and gases; its safe 3D printing guide recommends controls such as ventilation, isolation, and following the material maker's instructions.
How do you ink and proof a 3D-printed plate?
A 3D-printed plate should be proofed with a thin, even film of block-printing ink and controlled pressure on scrap paper. The first pull is a measurement, so resist the urge to hide every pale patch under more ink.
Roll out a small amount of ink until the brayer carries an even film. Charge the raised face with several light passes. Place the paper without sliding it, then burnish or press with steady coverage. Lift from one corner. If recessed areas print, reduce ink or pressure before editing the model. If the same raised area stays pale, check plate flatness and pressure there.
Ignite Studio found that a mid-neutral filament, such as light gray, makes ink easier to see on the plate. That small choice helps me distinguish an uninked patch from glare. It also makes cleanup easier to judge before the plate goes back into storage.
How should each proof be evaluated?
Each proof should be evaluated by changing one variable and writing down the result. Label the sheet with the plate version, ink, paper, pressure method, and the single adjustment made for that pull.
| Proof symptom | First variable to change | Next model change |
|---|---|---|
| Blank areas print gray | Use less ink or pressure | Deepen recesses |
| Thin lines disappear | Add pressure locally | Widen the raised marks |
| One corner stays pale | Support paper and plate evenly | Flatten or stiffen the base |
| Text reads backward | Stop the edition | Mirror the source art |
I use the same one-change discipline in the experiments documented through my software projects. A labeled proof turns a disappointing sheet into useful data. An unlabeled stack becomes guesswork by the next afternoon.
Frequently asked questions
Does artwork need to be mirrored for 3D printmaking?
Yes. A relief plate transfers a reversed image, so mirror the artwork before modeling the plate, especially when it contains text or an asymmetrical subject.
Which filament works for a 3D-printed relief plate?
PLA is a practical first choice because it prints cleanly and stays rigid under hand pressure. Use a material compatible with the ink, cleaner, printer, and intended reuse.
How high should the design rise above the plate?
A 1 to 1.5 mm relief is a useful test range for a simple hand-printed plate. Fine lines, soft paper, and press pressure can change the best value, so print a small proof first.
Why does a 3D-printed plate fill in with ink?
Filled recesses usually point to too much ink, shallow relief, features that are too close together, or excessive pressure. Reduce one variable at a time and pull another proof.