Common Build Mistakes in a 3D-Printed 3D Printer
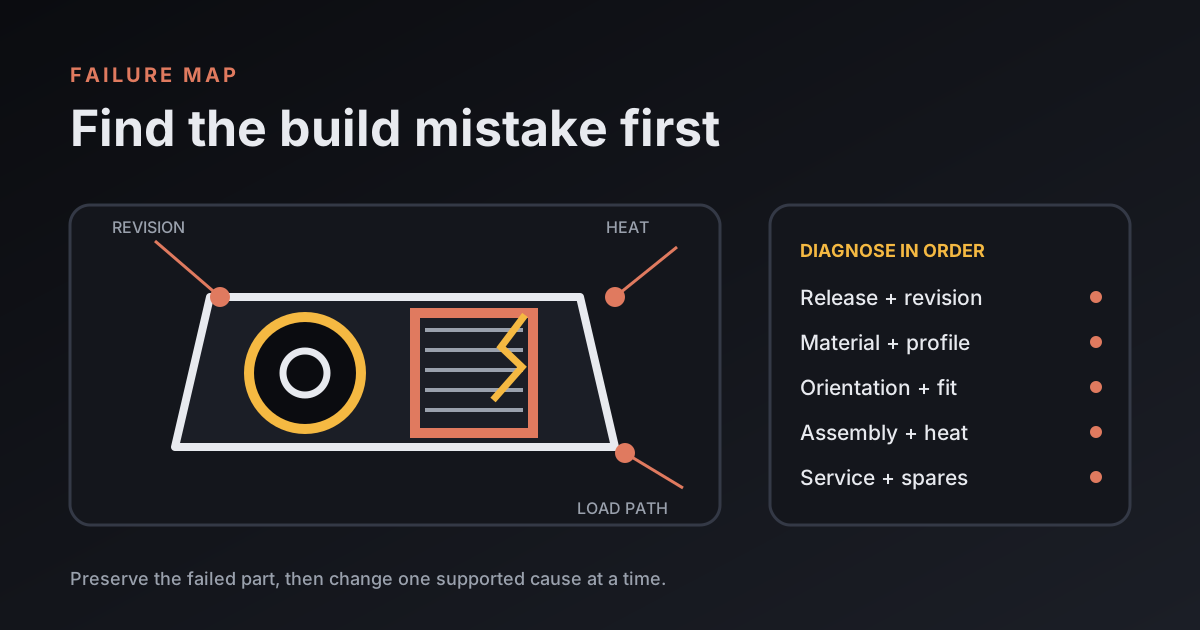
A 3D-printed 3D printer is a machine most likely to fail when its builder mixes file revisions, substitutes the wrong polymer, prints a loaded part in a weak orientation, or forces distorted interfaces together. Treat each printed component as a machine part: preserve its release, profile, quantity, orientation, and inspection result. Fix the cause before printing a replacement.
Which 3D-printed printer mistakes should you check first?
Check a 3D-printed printer in the order that avoids hiding one fault inside another: revision, material, print orientation, dimensions, assembly load, heat, then service access.
| Symptom | Likely build mistake | First check |
|---|---|---|
| Holes or covers do not align | Mixed file releases | Part marks and source tag |
| Bracket splits at a screw | Weak orientation or forced fastener | Layer direction and hole size |
| Bearing binds | Distorted bore or over-clamping | Roundness before assembly |
| Duct sags near the hotend | Wrong polymer or clearance | Specified material and heat path |
| Belt will not track | Misaligned mount or warped part | Pulley plane and mating faces |
Why is mixing printer-part revisions a mistake?
Mixing printer-part revisions is a mistake because one changed interface can move a bearing, belt, fan, sensor, or cable while the surrounding parts still appear to fit. Download the complete printable set and assembly instructions from the same tagged release. Keep original file names and photograph revision marks before they disappear inside the machine.
Keep each physical part traceable to its source release. Save the release identifier with the files and instructions instead of relying on a download folder or a third-party remix to preserve compatibility.
I'll use a remix when it names the parent release, lists changed interfaces, and supplies installation instructions. A loose download with no compatibility statement leaves the fit check to the builder. Check it in CAD before the printer becomes an expensive gauge.
Why does the wrong polymer fail inside a printer?
The wrong polymer fails inside a printer when the local heat, sustained load, vibration, or chemical exposure exceeds what the printed part can tolerate. A material that works for a display cover may creep in a tensioned motor mount or soften beside a hotend.
Voron's material guide names ABS as its primary recommended material because of its heat rating and moderate ductility. That is guidance for Voron printed parts, not a universal rule for another printer design. Follow the current file set and material note for the machine you are building. The MooreCode material guide starts with a failed PLA clamp and shows why load, heat, and environment belong in the decision.
Write the spool identity and its drying or storage history in the batch record. If a replacement survives after the polymer changes, you've narrowed the cause. You still haven't proved that the original material caused the failure by itself.
How can print orientation weaken a machine part?
Print orientation can weaken a machine part when belt tension, screw wedging, or bending tries to separate layers instead of loading continuous roads. Use the orientation supplied with the official file when the maintainer provides one. If you rotate the part, trace the major loads and document why the new direction is better.
Walls around holes and bearing seats often do more work than decorative infill deep inside the part. Changing infill without preserving perimeters, top and bottom shells, extrusion width, or temperature can produce a part that looks dense but fails at its interface. The FDM process guide explains the layer-by-layer construction behind that directional behavior.
Why should you measure holes and bores before assembly?
Measure holes and bores before assembly because screws, bearings, rods, and heat-set inserts can conceal a printing error until they crack or distort the part. Check roundness and spacing at several points, then compare the result with the project's stated fit and assembly method.
Do not use a motor screw to pull a warped bracket flat. The screw can store stress in the plastic, tilt the motor, and make the belt appear to be the problem. Reprint the bracket after checking bed adhesion, cooling, material condition, and the slicing profile. Ream or drill only when the maintainer instructs that post-processing and gives the final size.
How does overtightening damage printed printer parts?
Overtightening damages printed printer parts by wedging undersized holes, crushing layers, spinning inserts, and keeping the plastic under constant stress. Use the specified fastener, washer, insert, and tightening method. Stop when the joint seats as designed; a longer hex key is not a calibration tool.
Mark critical screws after commissioning so movement is visible. If a joint repeatedly loosens, inspect alignment, vibration, threads, and the documented retention method. Adding more torque can turn a serviceable looseness problem into a cracked carriage.
What does a failure allowance add to the job estimate?
A failure allowance can account for more than filament because a reprint may also consume machine time, energy, setup, and inspection. In the tracked MooreCode calculator example, direct cost before the 10% failed-print allowance is $35.144 and direct cost after it is $38.6584. The difference is $38.6584 - $35.144 = $3.5144.
| Tracked value | Amount | Limit |
|---|---|---|
| Direct cost before allowance | $35.144 | Fictional calculator inputs |
| Direct cost after allowance | $38.6584 | Includes the example's allowance |
| Difference | $3.5144 | Arithmetic result, not a market failure rate |
The subtraction is independently reproducible from the MooreCode 3D print calculator example. It supports the narrow claim that a stated allowance changes the estimate by $3.5144 under those inputs. It does not measure the failure rate of printed printer parts or predict the cost of your build.
Why are trapped hardware and missing spares planning mistakes?
Trapped hardware and missing spares become planning mistakes when replacing a cheap printed part requires dismantling half the machine. Read the assembly sequence backward before final wiring. Keep connectors serviceable, preserve cable slack where the design calls for it, and avoid routing that blocks fasteners.
Print spares for parts exposed to heat, repeated flexing, belt tension, or difficult access, but do not create an unlabeled box of obsolete plastic. Store each spare with its machine release, file name, material, profile, and print date. The 3D printing business guide treats repeatability and inspection as operating requirements; the same discipline helps a one-off machine stay repairable.
How should you diagnose a failed printed printer part?
Diagnose a failed printed printer part by preserving the fracture, configuration, and operating conditions before changing anything. Photograph the installed orientation, mark where the crack began, record the file revision and material, and note recent heat, jams, collisions, or tension changes.
- Make the machine safe and remove stored mechanical load.
- Compare the failed piece with the release-controlled model and an unused print.
- Inspect mating hardware for misalignment, burrs, seized bearings, or excess heat.
- Change one supported cause at a time, then re-run a short supervised test.
- Retire a repeated design failure instead of feeding it identical replacements.
A successful spare proves that one replacement survived one test. It does not certify long-term strength, electrical safety, or unattended operation.
What do people ask about 3D-printed printer mistakes?
Builders usually ask about cracked screw holes, mixed revisions, infill, and the point at which a printed machine component should be retired.
Why do printed printer parts crack around screws?
Printed printer parts can crack when a fastener is overtightened, a hole is undersized, a heat-set insert is installed poorly, or layer orientation puts the opening load across weak layer bonds.
Can you mix printable parts from different printer revisions?
Mix revisions only when the project's documentation explicitly marks them compatible. A carriage, duct, cover, or belt path can change while its file name still looks familiar.
Does more infill make a printer part stronger?
More infill alone does not guarantee a stronger printer part. Material, wall count, layer direction, geometry, temperature, and load path can matter more, so follow the part's documented profile.
When should a printed printer part be replaced?
Replace a printed printer part when it cracks, creeps, melts, distorts, loosens a critical interface, or no longer holds alignment. Diagnose heat, load, fit, or assembly causes before fitting the spare.