Can a 3D Printer Print Another 3D Printer? A Checklist
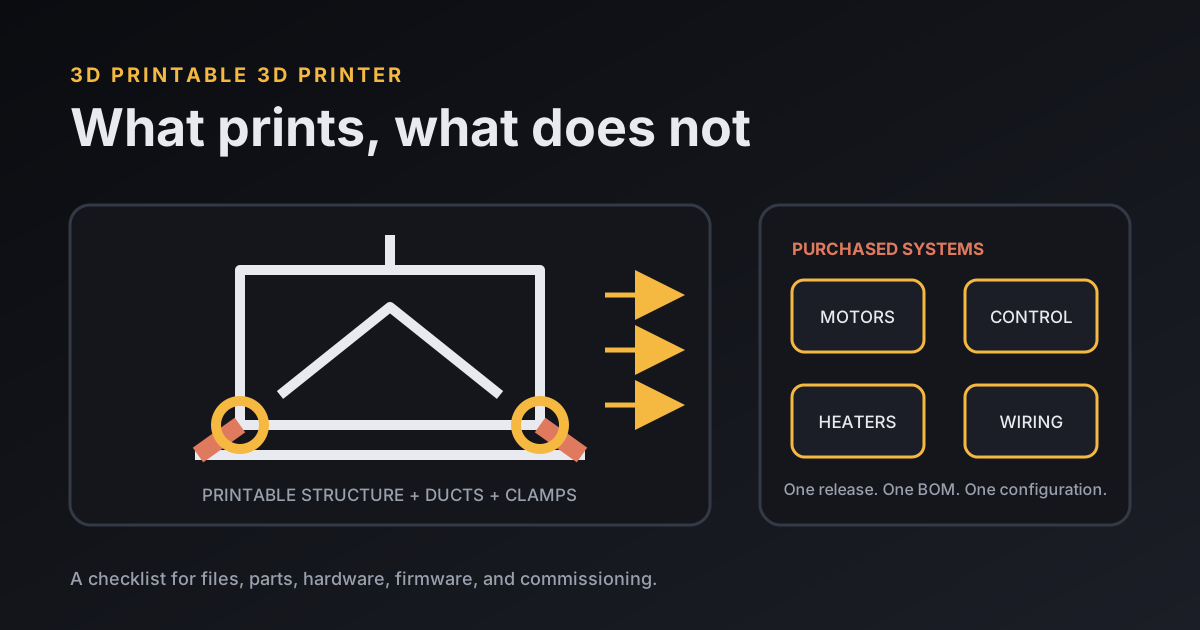
A 3D printable 3D printer is a machine whose plastic structure and mechanisms can be reproduced on another printer, while motors, electronics, heaters, wiring, fasteners, and the build surface are purchased. Start from one documented release, print its parts to the specified material and profile, then assemble, wire, configure, and commission it against that release's bill of materials. A printer cannot safely print every component of another printer.
What should a 3D printable 3D printer checklist include?
A 3D printable 3D printer checklist should tie every file, part, setting, and test to one named release before any plastic is printed.
| Gate | Evidence to keep | Stop if |
|---|---|---|
| Release | Version tag, source archive, assembly manual | Files and instructions come from different revisions |
| Parts | STL/3MF files, quantities, orientation, material | A heat- or load-critical part has no specification |
| Hardware | Bill of materials and supplier dimensions | A substitute changes fit, voltage, current, or load |
| Control | Firmware source, configuration, wiring diagram | Pin mapping or heater protection is unknown |
| Commissioning | Mechanical, electrical, thermal, and print checks | The machine moves or heats unexpectedly |
What can a 3D printer actually print for another printer?
A 3D printer can produce brackets, carriages, ducts, belt clamps, covers, feet, cable guides, and other polymer parts that the chosen design marks as printable. It cannot produce stepper motors, controller boards, conductors, heater cartridges, temperature sensors, precision rods, bearings, or a suitable build plate with ordinary FDM equipment.
The Snappy designer's project wiki gives a useful boundary. The Snappy designer describes the project as a nearly screw-less self-replicating printer that minimizes non-printed parts. That is evidence for one named design, not proof that every component can be printed or that the design is a current universal target.
I use that split as the first stop on the checklist. “Printable” describes a meaningful fraction of the machine, but motors and control hardware still arrive in a box. If you want a conventional machine for fast fit iterations instead, the rapid-prototyping guide separates in-house and outsourced jobs by material, finish, tolerance, and inspection needs.
How do you lock the design release before printing?
Lock the printable printer to one release by saving its tagged source, exported print files, bill of materials, firmware configuration, and assembly instructions together. Record the download date and checksum if the project publishes one. A folder full of files called “latest” cannot tell you which carriage fits which belt path six months later.
Check quantity suffixes and revision marks before slicing. Keep the naming convention from the project you chose instead of renaming everything for convenience, and record any required quantity separately when the source does not encode it in the file name.
Keep editable source if you plan to modify the design. STL files describe printable surfaces; STEP, SCAD, or the project's native CAD files make a controlled dimension change easier to review and reproduce. I save an unchanged baseline before touching a dimension.
How should you validate the printed parts?
Validate printed printer parts against the project's material, orientation, layer, wall, infill, and support instructions, then inspect every interface that carries heat, belt tension, bearing alignment, or a fastener. Do not replace a specified polymer because another spool is already loaded.
A project's settings apply to its own listed parts, not every RepRap. Record material and profile beside each part instead of turning one project's recommendation into a universal recipe.
Measure bearing seats, rod spacing, screw holes, belt slots, and mating faces before installing electronics. Dry-fit repeated joints with the actual hardware. Reject cracks, layer separation, lifted corners, distorted bores, and parts that need force to hide a dimensional mismatch. The MooreCode filament guide compares PLA, PETG, and TPU behavior, but the selected printer's current specification decides the material.
What does a small source-backed parts batch look like?
A small parts batch should prove the profile and fit before consuming a whole spool. The MooreCode calculator's tracked example uses 2 parts at 100 g per part, so the batch uses 2 × 100 = 200 g of material. Entering those values in the 3D print cost and price calculator also exposes print time, energy, labor, machine time, and failure allowance instead of treating filament as the whole job.
| Pilot input | Value | What it proves |
|---|---|---|
| Parts | 2 | Repeated geometry fits consistently |
| Material per part | 100 g | Slicer estimate is recorded |
| Total material | 200 g | Arithmetic only; not a universal printer requirement |
This example supports a reproducible multiplication and a trial-batch habit. It does not prove that any real printer bracket weighs 100 g, that two samples capture production variation, or that the resulting parts are safe under load. Replace the illustrative inputs with the chosen release's files and your slicer's estimates.
How do you check hardware, wiring, and firmware?
Check hardware, wiring, and firmware as one matched system because a mechanically correct frame can still be electrically unsafe. Confirm motor current, supply voltage, heater wattage, thermistor type, fuse protection, wire gauge, strain relief, grounding, endstop logic, travel limits, and controller pin assignments against current documentation.
Do the unpowered continuity and mechanical checks first. Power the controller without enabling heaters when the documented procedure permits it, verify sensor readings, then test one motor or output at a time. Stop on reversed motion, implausible temperatures, hot connectors, smoke, odor, or unexplained resets. A generic checklist cannot replace the controller, power-supply, and printer manuals.
How do you commission the finished printer?
Commission the finished printer in stages: square the frame, verify free motion, tension belts to the project's method, test endstops, validate temperature sensing and thermal protection, home each axis, set the nozzle-to-bed relationship, and run a short supervised print. Keep hands clear and make the power disconnect reachable.
Record the firmware commit, configuration, slicer profile, measured offsets, and first successful file. Print a few release-matched spares for heat-exposed or hard-to-access components only after the machine produces consistent parts. This is also where the project's maintainer guidance outranks a general internet tuning value.
What do people ask about 3D printable 3D printers?
People comparing 3D printable 3D printers usually ask what remains unprintable, which material to load, which software is required, and when to make spares.
Can a 3D printer print every part of another 3D printer?
No. A 3D printable 3D printer still needs purchased motors, electronics, wiring, heaters, sensors, fasteners, and a build surface. The project bill of materials defines the exact split.
Which filament should you use for printed printer parts?
Use the material specified for that exact release and part. Heat, load, and location differ across a machine, so one material rule does not fit every component.
What software does a printable 3D printer need?
A printable 3D printer needs editable design files for revisions, slicer settings for the plastic parts, firmware matched to its controller and geometry, and a tested machine profile for normal printing.
Should you print spare parts before assembly?
Print a small, documented spare set for parts that face heat, belt tension, repeated fastener loads, or difficult access. Label each spare with the release and revision it matches.