Small 3D Printing Setup: Measure the Workbench First
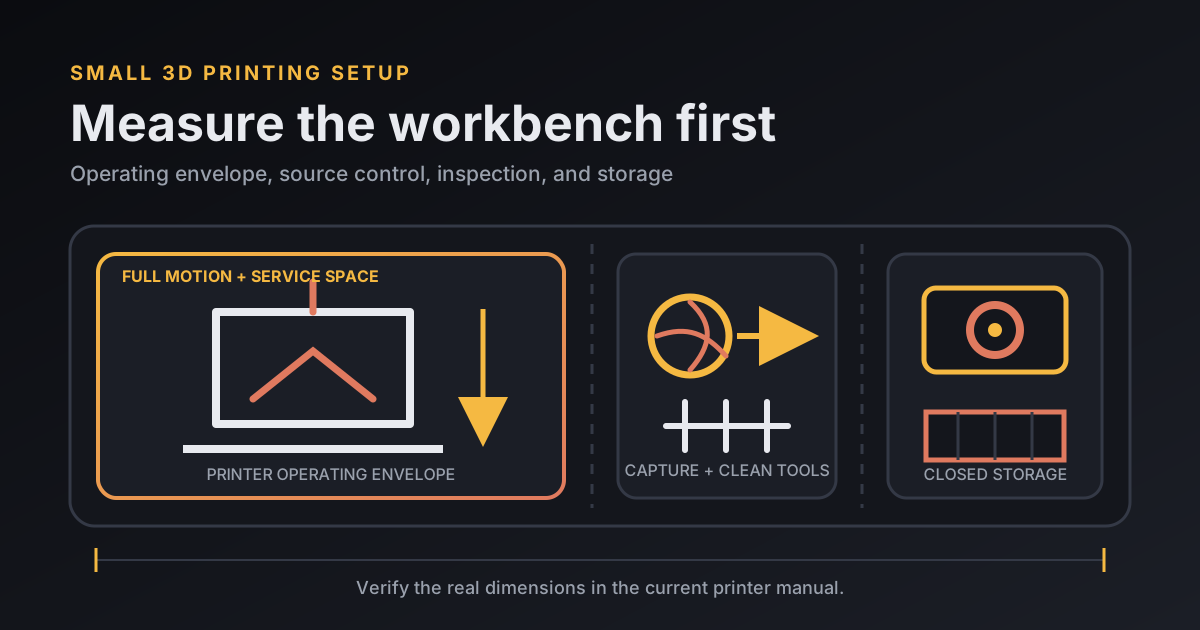
A small 3D printing setup is a measured workspace for the printer's full operating envelope, a rigid surface, ventilation, tools, and material handling. Measure moving beds, open doors, spools, cables, ducts, and service access before the first print because the cabinet dimensions alone do not show the space the machine will use. For resin, arrange the work in one direction from storage to printer, wash, dry, cure, and waste.
What belongs in a small 3D printing setup?
A small 3D printing setup needs a measured machine zone, an emission-control path, safe power, task lighting, material storage, and tool placement that keeps hands out of hot or moving areas.
| Zone | Put here | Keep out |
|---|---|---|
| Machine | Printer, manufacturer-required clearances, spool path, exhaust connection | Loose tools, dangling cables, paper, blocked vents |
| Clean work | Calipers, inspection light, finished parts, notebook | Uncured resin, solvent-wet parts, contaminated wipes |
| Material | Closed dry filament storage or upright labeled resin in secondary containment | Heat, direct light, food, drink |
| Dirty work | Resin drip tray, closed wash container, dedicated tools, labeled waste | Shared household tools and clean inspection gear |
The earlier MooreCode desktop-printer guide gives me the planning rule I use here: “A desktop 3D printing setup needs four essentials: a supported printer, source-control ventilation suited to its process and material, a rigid level surface with full movement clearance, and closed dry storage for filament.” This walkthrough turns those four checks into a bench layout; the current printer, material, and ventilation instructions remain authoritative. The source guide compares desktop printer categories before it maps the shared workspace requirements.
How do you measure a 3D printer setup before moving equipment?
A 3D printer setup should be measured with every moving or serviceable part in its most demanding position. I start with the current manual, then mark the bed at full travel, the lid or door fully open, the spool at its widest path, the cable bend, the exhaust duct, and the space needed to remove the build plate.
Put painter's tape on the empty bench to outline that operating envelope. Reach the power switch without leaning across a hot bed or vat. Pull the plate out along its normal path and check that it cannot pass over a keyboard, clean tools, or stored filament. A rigid bench still fails the layout if a moving bed can hit a wall or a spool can rub a shelf.
The measurement ends with the floor and wall. Make sure the bench cannot rock, the cord reaches a grounded outlet without an extension stretched across a walkway, and the exhaust route does not kink behind the machine. Use the clearances and electrical limits in the manual when they exceed a paper plan.
Where should ventilation go in a small 3D printing workspace?
Plan ventilation before fixing the printer's location. The control has to address particles and gases without blocking the printer's movement, service access, or manufacturer-required operating conditions.
NIOSH advises ventilating plastic-filament printing with fresh air or vented exhaust and isolating the printer from people in the room. These are exposure-reduction measures, not proof that a specific room or control is adequate.
The EPA reports that 3D printers can release VOCs and ultrafine particles 1–100 nanometers wide. The agency's 3D-printing research page identifies an emissions hazard; it does not supply a safe indoor threshold or size the ventilation for a particular printer.
How should tools and surfaces be arranged?
3D printing tools should follow the order of the job while staying outside the machine envelope. For FDM, I keep the plate-cleaning supplies, calipers, flush cutters, deburring tool, and spare hardware in fixed spots, then leave the center of the bench open for inspection.
Surface protection depends on the process. A removable, wipeable mat or tray can catch FDM scraps without hiding a loose screw. The existing MooreCode desktop-workspace guide keeps uncured resin, solvent-wet parts, wash liquid, and sanding dust in a separate workflow. Use the current resin, solvent, and printer instructions to choose compatible containment, tools, and cleanup steps.
I keep resin work moving in one direction: clean bottle, printer, drip tray, wash, dry, cure, then finished part. The detailed resin-versus-FDM guide explains when that extra handling is justified. If the station cannot keep wet tools from crossing the clean side, I would move the resin process rather than squeeze it onto the bench.
What does a measured workbench layout look like?
A measured workbench layout starts with the machine shell, then adds the required clearance on both sides. The earlier MooreCode guide uses an illustrative 18-by-18-inch printer with 4 inches of service space on each side; these are teaching inputs, not specifications for a real printer.
| Width input | Inches | Claim limit |
|---|---|---|
| Illustrative printer shell | 18 | Assumed square footprint |
| Left service space | 4 | Assumed clearance |
| Right service space | 4 | Assumed clearance |
| Illustrative total | 26 | Replace with the current manual's dimensions |
The arithmetic is 18 + 4 + 4 = 26 inches in each direction. Multiplying 26 × 26 gives 676 square inches for the illustrative rectangle. That result does not include a spool holder, moving bed, open door, wash station, tool tray, duct, or any larger clearance in the current manual, so do not use it as a purchase dimension.
Which first-pass 3D printer setup mistakes should you fix?
First-pass 3D printer setup mistakes usually appear when the paper footprint ignores motion, cleanup, or the operator. I reject a layout if any of these checks fail:
- The rear cable folds sharply or rubs when the bed reaches full travel.
- The enclosure door blocks the inspection area when open.
- The emergency switch or plug requires reaching across the printer.
- The exhaust duct points toward an occupied area or loses its seal during motion.
- Clean calipers share a tray with uncured resin tools.
- A removed build plate has no heat-safe landing place.
- Filament, resin, wipes, or solvent sit in sunlight or beside a heat source.
Most corrections are cheap while the bench is empty. Move a shelf, shorten the tool list, add secondary containment, or choose another room before routing power and exhaust. The broader 3D printing at home guide covers printer choice and first projects once the space is workable.
How do you commission the 3D printer setup?
A 3D printer setup is commissioned with one short, supervised print that exercises motion, heat, material feed, ventilation, removal, and shutdown. Use the exact printer profile, plate, and material planned for the next job, and follow the maker's first-run procedure.
- Move the bed, gantry, door, lid, spool, and cables through their full ranges before heating.
- Start the ventilation control and confirm its indicators, seals, and airflow using its documented test method.
- Run the machine's calibration and a small known print while remaining present.
- Watch for bench vibration, cable contact, spool drag, heat near stored items, and blocked access.
- Let the printer cool, remove the part through the planned route, clean the work area, and write down what moved.
A successful small print proves only that this combination completed one supervised cycle. It does not validate air quality, unattended operation, another material, or a resin workflow. Change one major condition at a time and commission the setup again when the printer, material, enclosure, exhaust, or room changes.
What do people ask about a small 3D printing setup?
People planning a small 3D printing setup usually need to know the real space requirement, whether an office desk works, where tools belong, and what the first test should prove.
How much room does a small 3D printer need?
A small 3D printer needs space beyond its cabinet footprint. Measure moving beds, open doors or lids, spool travel, cables, ducts, and the service clearance required by the current manufacturer manual.
Can a 3D printer share my office desk?
Do not treat a normal office desk as automatically suitable. NIOSH advises isolating plastic-filament printers from people in the room and using a well-ventilated location. That guidance does not validate a particular desk, so assess the room and controls first.
Where should tools go in a 3D printing setup?
Put routine clean tools within reach but outside the machine's motion and hot zones. Give resin-coated tools, wash containers, wipes, and waste their own labeled dirty zone with secondary containment.
What should the first test print check?
The first supervised test print should check cable and spool travel, bed clearance, vibration, ventilation direction, shutdown access, first-layer behavior, and the cleanup route after the machine cools.
Logan Moore writes MooreCode's practical 3D-printing guides and documents the limits of each planning example. His background and current projects are listed on the About Logan Moore page.